How to Make an
Origami
|
|
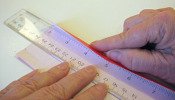
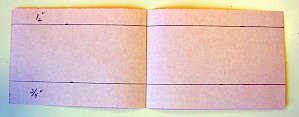
1. If the paper has color or a pattern on one side, start with the paper white side up. 2. Fold the paper in half to make a “helper crease” you will use later. Unfold. 3. For the small version, fold the top edge down ½ inch (Large: ¾ inch) 4. For the small version, fold the bottom edge up ¾ inch (Large: 1 inch) 5. Unfold both of the previous folds. |
|
|
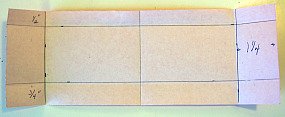
6. For the small version, fold the left and right sides in 1 ¼ inches (Large: 1 ¾ inches). 7. Unfold. |
|
|
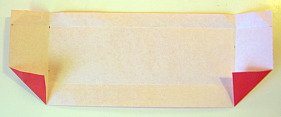
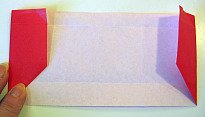
8. Fold the two bottom corners up to meet the creases you made in Step 6. |
|
|
9. Fold both sides in on the same creases. |
|
|
10. Turn the model over. 11. Fold the top edge down on the crease you made earlier. |
|
|
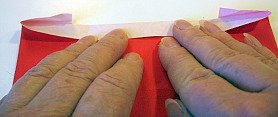
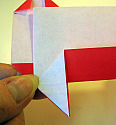
12. With your right index finger, hold the top layer flat.
With your left index finger, squash-fold a tiny triangle.
Repeat on the other side.
|
|
|
13. Fold the corner down to meet the folded edge.
Repeat on the other side. |
|
|
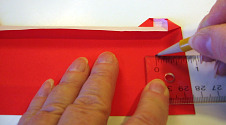
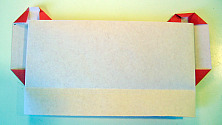
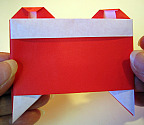
14. Fold the top edges down a tiny bit. Peek on the other side and you’ll see the heart shapes you made. 15. For the small version, make tiny pencil marks ¾ inch in from each side. (Large: 1 inch). |
|
|
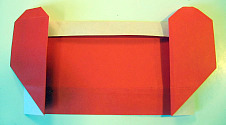
16. Fold the ends in on the pencil marks, but do not the fold the heart as you do this.
Allow the heart halves to pop out to the side. |
|
|
17. Turn the model over. |
|
|
18. Fold the bottom edge up on the crease made earlier, and squash-fold a triangle. Repeat the squash fold on the other side.
|
|
|
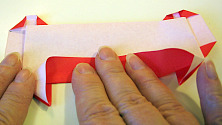
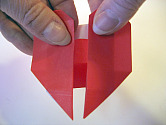
19. Fold the heart halves to the back. Lay it down and crease these folds. |
|
|
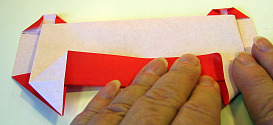
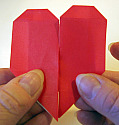
20. Fold the heart halves in to meet in the middle at the center crease.
Crease everything well. You’re done folding! |
|
|
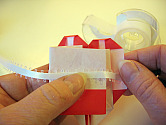
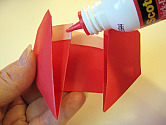
21. Turn the card over and tape or glue the ribbon to the back. |
|
|
22. (Optional)To prevent the heart halves from pulling away from the back when the card is opened, place a dot of paper adhesive under each half.
You also might want to glue down the tiny folds at the top of the heart. |
|
|
23. Write a message inside, and tie the ribbon. |
|
Here are some ideas for enhancing and delivering your card.
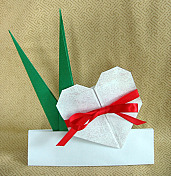
Put it in a Display Stand with Iris Leaves.
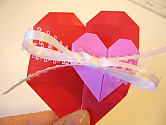
Stick a small Basic Heart or Heart with Tabs on the front.

Set it on a Hershey’s Kiss™.

