
How
to Fold an
Origami Flower
|
||||||||||||||||||||||||||||||||||||||||||||||||||||
 This easy origami flower is our adaptation of
one in
This easy origami flower is our adaptation of
one in 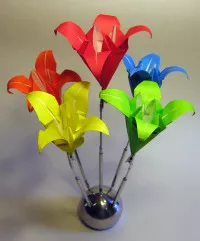
|
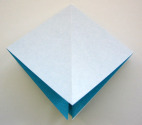
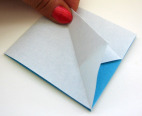
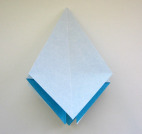
1. Begin with a square base (preliminary fold). Important: Begin folding with the colored side up. |
 |
|
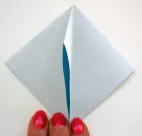
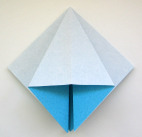
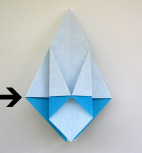
2. Lift one of the triangular flaps on
the existing center crease.
|
 |
|
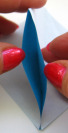
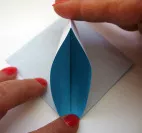
3. Open the flap and squash-fold into a
triangle. Tips:
Run your finger up into the point as far as you can.
|
   |
|
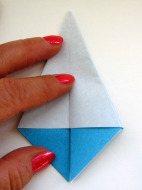
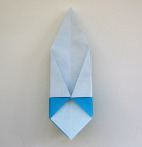
4. Turn the flaps like pages in a
book, and squash-fold the other three large flaps...
|
  |
|
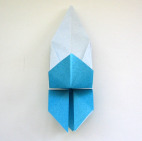
5.
Page-turn one of the top flaps
so that you have a solid white "kite."
|
 |
|
6.
Fold
in the two side points to meet in the middle.
|
|
|
7.
Repeat the last two steps three
more times until you have this.
|
 |
|
8.
Lift the top layer and press
flat, forming the first petal. |
|
|
9. Repeat with the other three petals, turning the model and flaps as necessary.
|
|
|
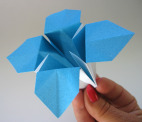
10.
Hold the flower and lift each petal.
|
 |
|
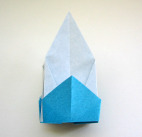
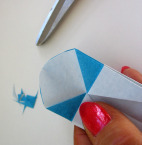
11. Collapse the flower with the petals extended, and round the tip with sissors, cutting away as little as possible.
|
 |
|
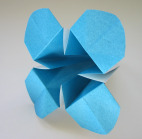
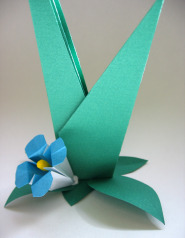
12.
Refold the petals and you have the finished origami flower.
|
 |
|
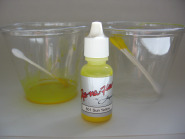
13. To make the yellow centers (pistils), put some paint in a cup and dip the swab ends. The paint we used required drying overnight. |
|
|
14. When dry, cut the pistil to length. If you made your flower from a 3x3-inch piece of paper, cut it 1 3/8 inches. |
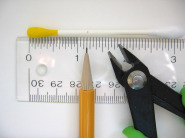
|
|
15. Glue the pistil to the flower. Find something that will hold the flower upright while the glue dries.
|

|
|
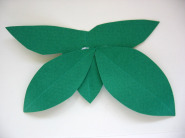
16. To make the leafy part of the origami flower display, first make a tulip leaf. |

|
|
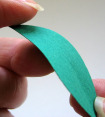
17. To make the small leaves, fold a scrap of paper in half before cutting.
|
|
|
18.
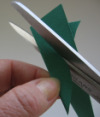
If you cut off the side flaps as described in the tulip leaf
instructions, you will have a triangular scrap of paper from which to make a three-leaf
base. Glue two leaves to the base. |
|
|
19. Glue the tulip leaf to the base. Allow to dry.
|
|
|
20. Curl the leaves at the base to make it stand securely without tipping over.
|

|


| Share this page: | |||
| Tumblr | |||

Would you prefer to share this page with others by linking to it?